10 Powerful Lighting Tips for Stunning Indoor Photos
Discover 10 essential lighting tips to elevate your indoor photography game and capture stunning images effortlessly.
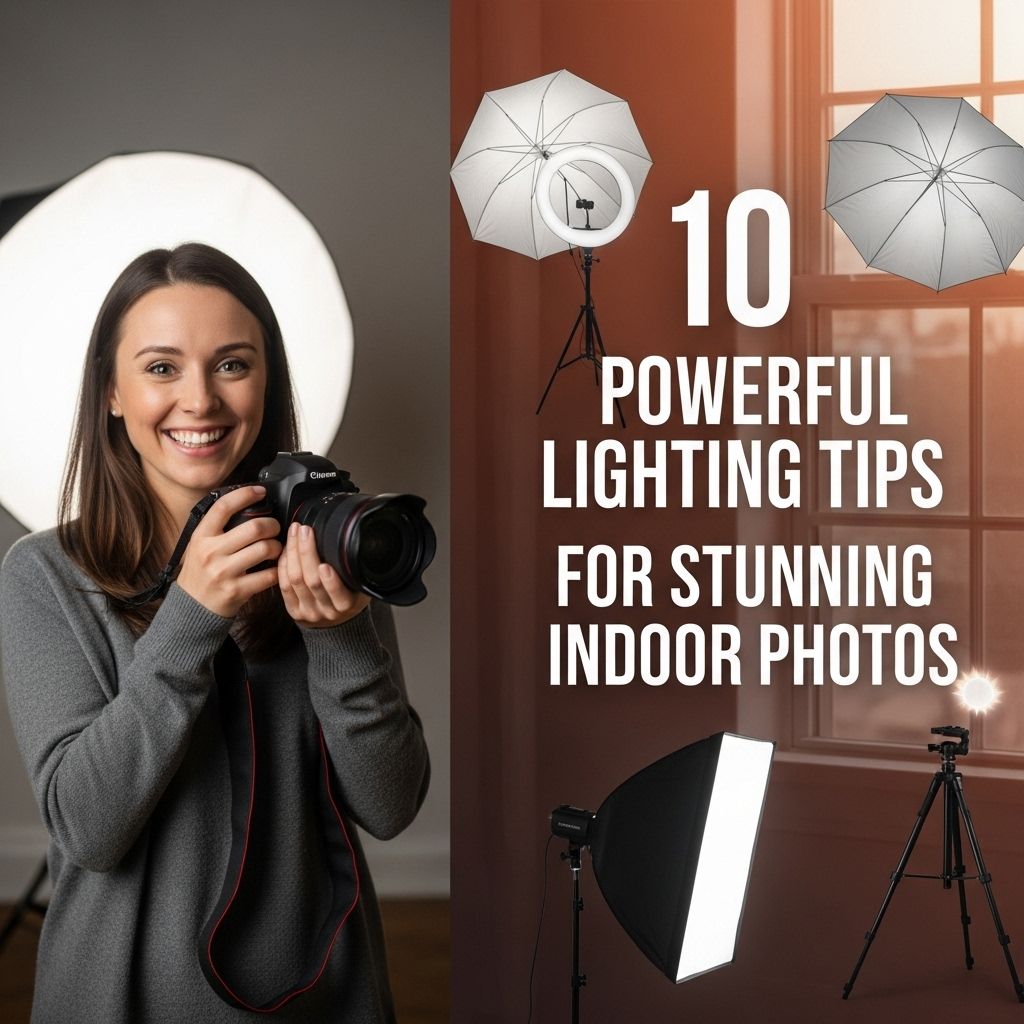
Capturing stunning indoor photographs can often be challenging due to limited natural light, artificial lighting conditions, and varying indoor environments. However, mastering the art of lighting can transform your indoor photography from mundane to breathtaking. In this article, we’ll explore ten powerful lighting tips to help you achieve incredible results in your indoor photography.
Capturing stunning indoor photos often hinges on the power of lighting. In this guide, we’ll explore 10 powerful lighting tips that can elevate your photography game and bring your indoor spaces to life. Whether you’re shooting logos or personal projects, mastering light can transform your results—like those found in this collection of download stunning logo mockups.
Understanding Light in Photography
Before diving into the tips, it’s essential to understand the characteristics of light and how they impact your photographs.
- Quality: Refers to the softness or hardness of the light. Soft light creates gentle shadows, while hard light produces strong, defined shadows.
- Direction: The angle at which light hits your subject dictates how shapes and textures are perceived.
- Color: Different light sources emit various color temperatures, affecting the mood of your images.
- Intensity: The strength of the light influences exposure. Bright light may require faster shutter speeds, while dim light needs longer exposures.
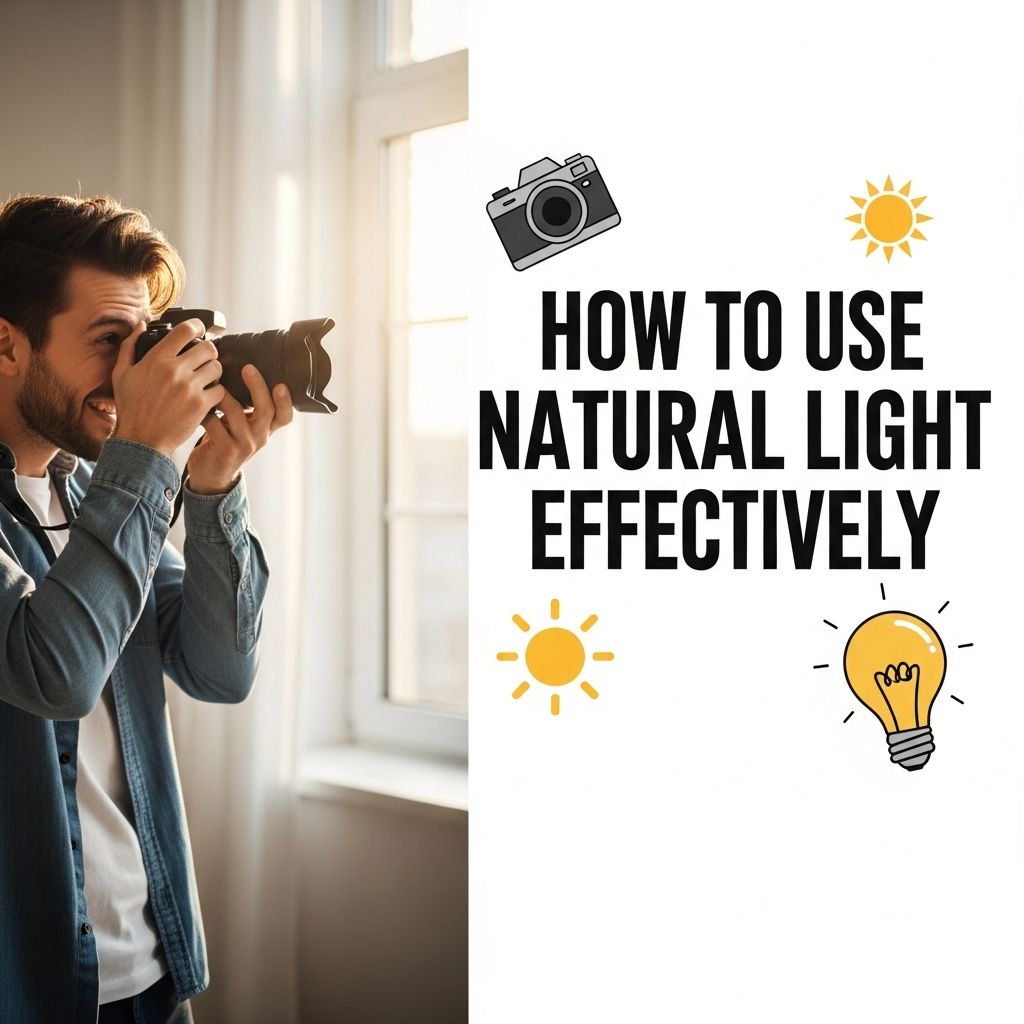
1. Utilize Natural Light
Natural light can be your best friend in indoor photography. Here are some effective strategies:
Positioning
Always look for windows or openings that allow natural light to stream in. Position your subject near these sources for soft, diffused lighting.
Time of Day
The time of day affects the quality of natural light:
- Golden Hour: The hour after sunrise and before sunset offers warm, soft light.
- Midday: Typically harsh, but can be softened with diffusers or reflectors.
2. Control Artificial Lighting
When natural light isn’t sufficient, artificial lighting can help enhance your indoor photography:
Types of Artificial Lights
Consider the following types:
| Light Type | Description |
|---|---|
| LED Lights | Energy-efficient and versatile with adjustable color temperatures. |
| Softboxes | Provide soft, diffused light, ideal for portraits. |
| Speedlights | Portable flashes that can be used on or off-camera. |
3. Experiment with Light Modifiers
Light modifiers can change the quality and direction of your light:
- Diffusers: Soften harsh light, creating a more flattering look.
- Reflectors: Bounce light back onto your subject, filling in shadows.
- Grids: Narrow the beam of light for more controlled lighting.
4. Use a Tripod
Stability is crucial for capturing well-exposed images, especially in low light. A tripod allows:
- Longer exposure times without blurriness.
- Consistent compositions across different shots.
5. Adjust Camera Settings
Understanding and adjusting your camera settings is vital for optimal indoor photographs:
ISO Settings
Raise the ISO to capture more light, but be cautious of noise. For indoor shots:
- Low Light: ISO 800-1600 may be necessary.
- Very Low Light: ISO 3200 or higher, depending on your camera’s capability.
Aperture and Shutter Speed
Use a wider aperture (e.g., f/1.8 or f/2.8) to capture more light. Adjust shutter speed accordingly to avoid motion blur.
6. Embrace Shadows
Shadows can add depth and dimension to your indoor photography. Consider:
- Creating dramatic effects by positioning your subject closer to the light source.
- Using shadows to emphasize textures and shapes.
7. White Balance Matters
Different light sources have varying color temperatures. Adjusting your white balance can significantly impact the mood of your images:
- Tungsten Light: Use the tungsten setting or manually adjust to cool tones.
- Fluorescent Lighting: Use the fluorescent setting to add warmth.
8. Explore Creative Lighting Techniques
Think outside the box and explore these creative techniques:
Backlighting
Position your light source behind your subject to create a halo effect or silhouette.
Light Painting
Use a long exposure and move a light source to “paint” light into your scene.
9. Post-Processing Enhancements
Post-processing can further enhance lighting effects:
- Adjust Exposure: Fine-tune exposure and brightness levels.
- Color Grading: Modify hues to match your desired aesthetic.
- Sharpening: Increasing sharpness can enhance light and shadow details.
10. Practice and Patience
Finally, like any skill, mastering indoor lighting takes practice:
- Experiment with different setups, lighting conditions, and subjects.
- Be patient with your process and don’t hesitate to learn from mistakes.
In conclusion, stunning indoor photographs are within reach by mastering the art of lighting. By utilizing natural and artificial light sources, controlling camera settings, and exploring creative techniques, you can elevate your indoor photography game. Remember, practice is key, so grab your camera, experiment, and enjoy the creative journey!
FAQ
What are the best lighting conditions for indoor photography?
The best lighting conditions for indoor photography are natural light during the day, using soft diffused light, or utilizing artificial light sources like softboxes or LED panels.
How can I utilize natural light for indoor photos?
To utilize natural light, position your subject near windows or openings where light enters, and avoid direct sunlight which can create harsh shadows.
What are some tips for using artificial lighting in indoor photography?
When using artificial lighting, consider using multiple light sources to create even illumination, and use diffusers to soften the light and reduce harsh shadows.
How do I avoid grainy photos in low light?
To avoid grainy photos in low light, use a higher-quality camera, increase the ISO only as needed, and ensure proper stabilization techniques are used.
What is the importance of white balance in indoor photography?
White balance is crucial in indoor photography as it helps to accurately represent colors, ensuring that your photos appear natural and true to life.
Can I use reflectors for indoor photography?
Yes, reflectors are great for bouncing light back onto your subject, helping to fill in shadows and create a more balanced and flattering exposure.