10 Essential Camera Settings for Beginners
Discover the 10 essential camera settings every beginner photographer should know to take stunning photos and improve their skills.
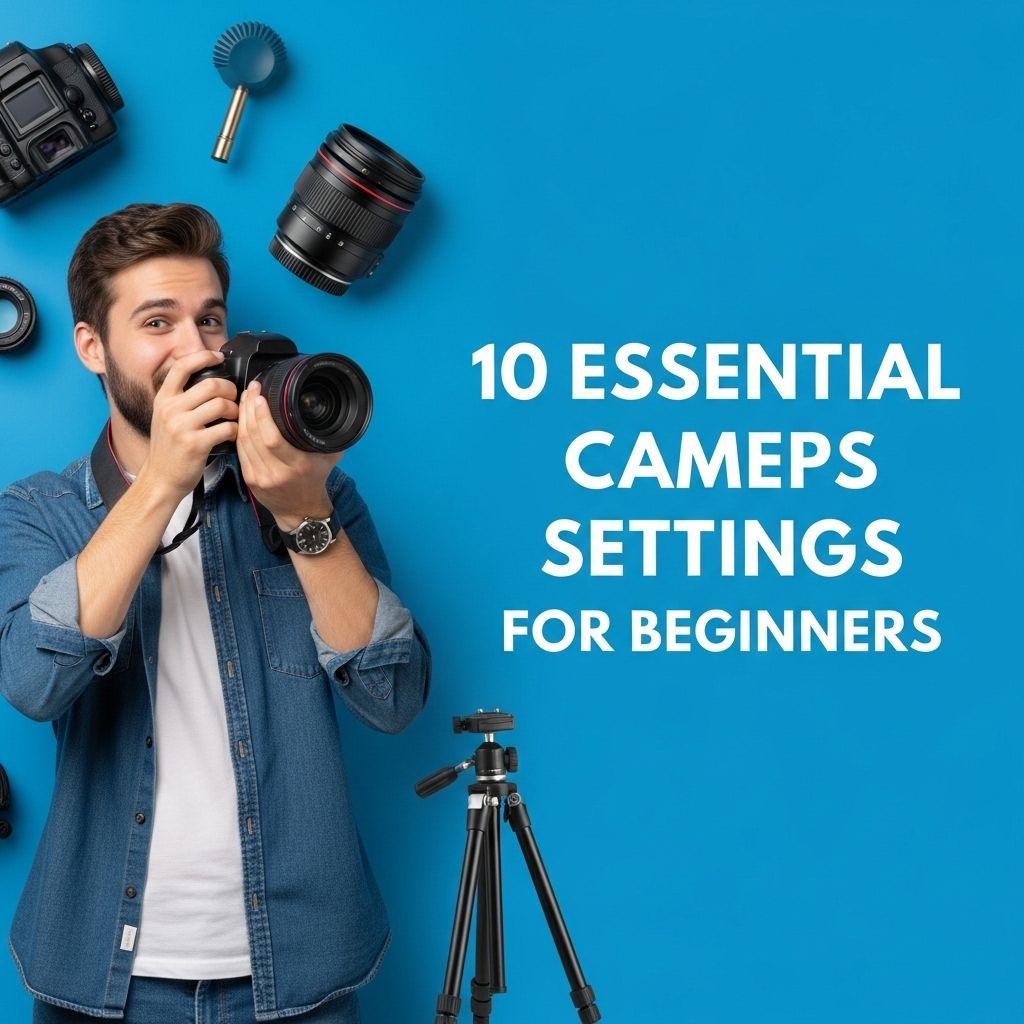
Embarking on the journey of photography can be both exciting and overwhelming, especially for beginners who often feel lost amidst a myriad of settings and features available in modern cameras. Understanding the essential camera settings is key to unlocking the creative potential that lies within each shot. In this comprehensive guide, we will explore the fundamental settings that every beginner should master to improve their photography skills and start creating stunning images that tell a story.
Understanding your camera’s settings is crucial for capturing stunning images, especially for beginners. This guide covers ten essential camera settings that will help you unlock your camera’s full potential. Once you’re comfortable with these fundamentals, you can learn how to use logo mockups effectively to enhance your branding.
Table of Contents
Understanding Exposure
At the heart of photography lies the concept of exposure, which determines how light or dark an image appears. The three main components that govern exposure are:
- Aperture: This controls the size of the lens opening and influences the depth of field.
- Shutter Speed: This dictates how long the camera’s sensor is exposed to light.
- ISO: This refers to the camera sensor’s sensitivity to light.
Aperture
The aperture is measured in f-stops (e.g., f/2.8, f/4, f/8). A lower f-stop value indicates a wider opening, allowing more light to enter and creating a shallower depth of field. This is ideal for portraits where you want the background to be blurred.
Shutter Speed
Shutter speed is expressed in seconds or fractions of a second (e.g., 1/1000, 1/60). A faster shutter speed is essential for freezing motion, while a slower speed can create motion blur, which may be desirable in certain artistic contexts.
ISO
The ISO setting determines the sensor’s sensitivity to light. A lower ISO (e.g., 100) is best for bright conditions, whereas a higher ISO (e.g., 1600) is necessary in low-light situations. However, be cautious, as higher ISO levels can introduce noise into the image.
Essential Camera Settings for Beginners
Now that we’ve covered the basics of exposure, let’s delve into the ten essential camera settings that every beginner should know:
1. Aperture Priority Mode (Av or A)
This mode allows you to set the aperture while the camera automatically adjusts the shutter speed, giving you control over depth of field without worrying about motion blur.
2. Shutter Priority Mode (Tv or S)
Here, you set the shutter speed, while the camera chooses the aperture. This is helpful for capturing fast action or creating intentional motion blur.
3. Manual Mode (M)
In this mode, you have complete control over aperture, shutter speed, and ISO. While it requires a more in-depth understanding of exposure, it offers the most creative flexibility.
4. White Balance Settings
White balance affects the color temperature of your images. Adjusting this setting based on your shooting conditions ensures that colors appear natural. Common presets include:
- Auto
- Daylight
- Cloudy
- Tungsten
5. Exposure Compensation
This setting allows you to adjust the exposure level calculated by the camera. Use it to brighten or darken your images based on the scene.
6. Focus Mode
Understanding focus modes is crucial for capturing sharp images. Common modes include:
- Single-Point Autofocus: Focuses on a single point in the frame.
- Continuous Autofocus: Continually adjusts focus on moving subjects.
- Manual Focus: Allows you to control focus manually.
7. Metering Modes
Metering modes determine how your camera evaluates the light in a scene to set exposure. Key metering modes include:
| Metering Mode | Description |
|---|---|
| Evaluative | Measures light across the entire frame. |
| Center-Weighted | Prioritizes light in the center of the frame. |
| Spot Metering | Measures light in a small area, great for backlit subjects. |
8. Shooting in RAW
Shooting in RAW format gives you greater flexibility during post-processing, allowing for adjustments in exposure, white balance, and more without sacrificing image quality.
9. Using the Histogram
The histogram is a graphical representation of the tonal range in your image. Learning to read it will help you avoid overexposed highlights and underexposed shadows.
10. Customizing Your Camera Settings
Most cameras allow customization of specific buttons and settings. Take advantage of this feature to streamline your shooting experience, making it faster to access frequently used settings.
Putting It All Together
Now that you have a grasp of the essential camera settings, it’s time to practice. Here are a few tips to help you along the way:
- Experiment with different shooting modes and settings in various lighting conditions.
- Take notes on your settings for future reference and learning.
- Review your images critically, adjusting your approach as needed.
- Join photography communities online for feedback and inspiration.
Conclusion
Mastering these essential camera settings will empower you to take control of your photography. With practice, patience, and creativity, you’ll find your unique style and perspective. Remember, the best way to learn is through trial and error, so don’t be afraid to experiment and make mistakes. Happy shooting!
FAQ
What are the basic camera settings every beginner should know?
The basic camera settings every beginner should know include aperture, shutter speed, ISO, white balance, focus mode, and exposure compensation.
How do I adjust the aperture on my camera?
To adjust the aperture on your camera, look for the ‘A’ or ‘Av’ mode on your camera dial, then use the command dial to select the f-stop value you desire, which controls the depth of field.
What is shutter speed and why is it important?
Shutter speed determines how long your camera’s shutter stays open to expose light to the sensor. It is crucial for capturing motion, as faster speeds freeze action while slower speeds can create motion blur.
How can I effectively use ISO settings in my photography?
ISO settings adjust your camera’s sensitivity to light. Use a low ISO (100-400) in bright conditions for clear images, and increase it (800+) in low light, but be aware that higher ISO can introduce noise.
What role does white balance play in photography?
White balance adjusts the color temperature of your images to ensure that whites appear neutral under different lighting conditions, helping to maintain the natural colors in your photos.
What is exposure compensation and when should I use it?
Exposure compensation allows you to adjust the exposure level set by your camera. Use it when you want to brighten or darken an image, especially in tricky lighting situations where the camera’s metering may not be accurate.