Create a $200 YouTube Setup: A Complete Guide
Learn how to build a professional YouTube setup for just $200 with essential gear and tips for content creators.
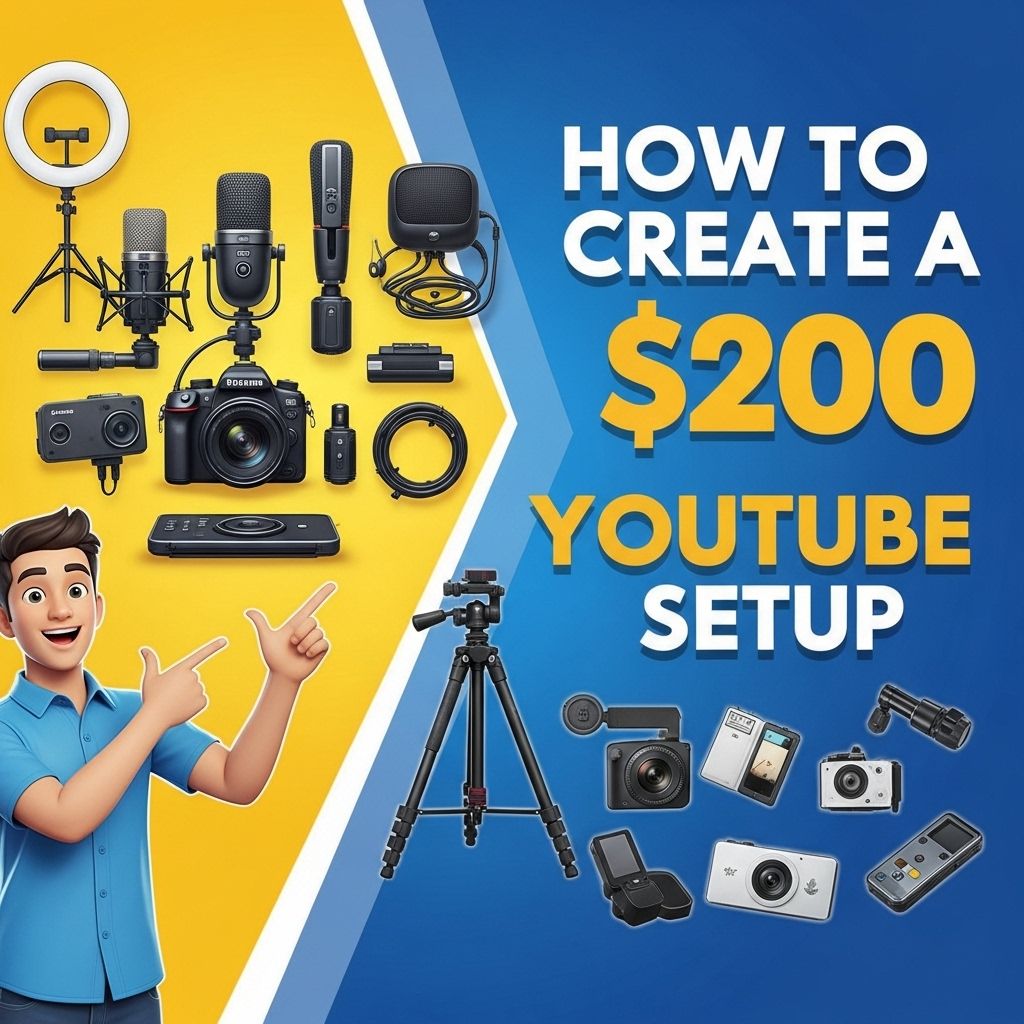
With the rise of content creation, many aspiring YouTubers are eager to share their stories, skills, and passions with the world. However, starting a YouTube channel can be daunting, especially when it comes to budget constraints. Fortunately, it is entirely possible to create a quality YouTube setup for under $200. In this article, we will explore the essential components you need, tips for optimizing your recording environment, and the process of setting everything up efficiently.
Creating a professional-looking YouTube setup doesn’t have to break the bank. In this complete guide, we’ll explore how to build an effective $200 YouTube setup that includes essential gear and techniques to enhance your content quality. For those looking to elevate their branding, consider exploring discover unique logo mockup ideas to find inspiration for your channel’s identity.
Essential Components of a $200 YouTube Setup
To build an effective YouTube setup on a budget, you will need to invest wisely in a few key components. Below is a breakdown of essential items that fall within the $200 range:
- Camera: Your smartphone can serve as a high-quality camera. If you’re looking for a dedicated camera, consider budget options like the Logitech C920.
- Microphone: Good audio quality is crucial. The Fifine K669B USB Microphone is a great choice for under $50.
- Lighting: Natural light works well, but you can also purchase a ring light for around $30.
- Tripod: A stable tripod is necessary for steady shots. Look for options like the Amazon Basics Tripod, which costs about $20.
- Editing Software: Free software like HitFilm Express or DaVinci Resolve can help you create polished videos.
Budget Breakdown
| Item | Estimated Cost |
|---|---|
| Smartphone Camera / Logitech C920 | $0 / $50 |
| Fifine K669B Microphone | $50 |
| Ring Light | $30 |
| Amazon Basics Tripod | $20 |
| Editing Software | $0 |
| Total | $100 – $150 |
Setting Up Your Recording Space
Even with the best equipment, a poor recording environment can ruin your videos. Here are some tips for creating an optimal recording space:
Choose a Suitable Location
- Find a quiet room with minimal background noise.
- Look for a space that has good natural light.
- Avoid cluttered backgrounds that might distract viewers.
Optimize Lighting
Proper lighting is crucial for high-quality videos. Here are some basic lighting tips:
- Use natural light as much as possible; record during the day.
- If using artificial lighting, position a ring light or softbox at a 45-degree angle in front of you.
- Avoid backlighting, which can create shadows on your face.
Soundproof Your Environment
Good audio quality can make or break your videos. Consider the following:
- Record in a room with carpets or rugs to absorb sound.
- Use curtains to minimize echoes.
- Consider investing in foam sound panels for better acoustics.
Recording Your First Video
Once your setup is complete, it’s time to start recording. Here’s a simple step-by-step guide:
1. Prepare Your Script
Outline the main points you want to discuss to keep your video focused and engaging.
2. Set Up Your Camera
Position your camera at eye level, and ensure that the frame includes your head and shoulders.
3. Check Audio Levels
Before recording, do a quick test to ensure your microphone captures sound clearly and at an appropriate volume.
4. Record in Segments
Don’t hesitate to record in sections. This allows for easier editing later on.
5. Edit Your Video
Use your editing software to cut out mistakes, add transitions, and include music or effects as needed.
Promoting Your New YouTube Channel
Creating content is only part of the equation; you also need to attract viewers. Here are some strategies for promoting your channel:
Utilize Social Media
Share your videos on platforms like:
- TikTok
Engage with Your Audience
Encourage comments and respond to viewers to build a community around your channel.
Collaborate with Other Creators
Partnering with other YouTubers can help you reach a wider audience and gain new subscribers.
Conclusion
Starting a YouTube channel on a budget is entirely possible with careful planning and resourcefulness. By investing wisely in essential equipment, optimizing your recording environment, and effectively promoting your content, you can create an engaging channel without breaking the bank. Remember, it’s not just about the equipment; it’s also about your creativity and the value you provide to your audience. So, get started today, and share your unique voice with the world!
FAQ
What equipment do I need for a $200 YouTube setup?
For a $200 YouTube setup, you will need a good quality camera (like a smartphone or a budget webcam), a microphone for better audio, basic lighting (softbox or ring light), and editing software.
Is it possible to film high-quality videos on a budget?
Yes, it is possible to create high-quality videos on a budget by using affordable equipment, utilizing natural lighting, and focusing on good content and storytelling.
How can I improve audio quality in my YouTube videos?
To improve audio quality, invest in an external microphone, record in a quiet environment, and consider using audio editing software to enhance sound.
What lighting options are best for a budget YouTube setup?
For a budget YouTube setup, use natural light from windows, affordable LED lights, or DIY softboxes made from inexpensive materials.
Which video editing software is recommended for beginners?
Beginners can use free or low-cost video editing software like DaVinci Resolve, HitFilm Express, or iMovie, which offer user-friendly interfaces and essential editing tools.
How can I make my YouTube videos more engaging on a budget?
To make your videos more engaging, focus on storytelling, use creative editing techniques, add graphics or text overlays, and interact with your audience through comments and social media.