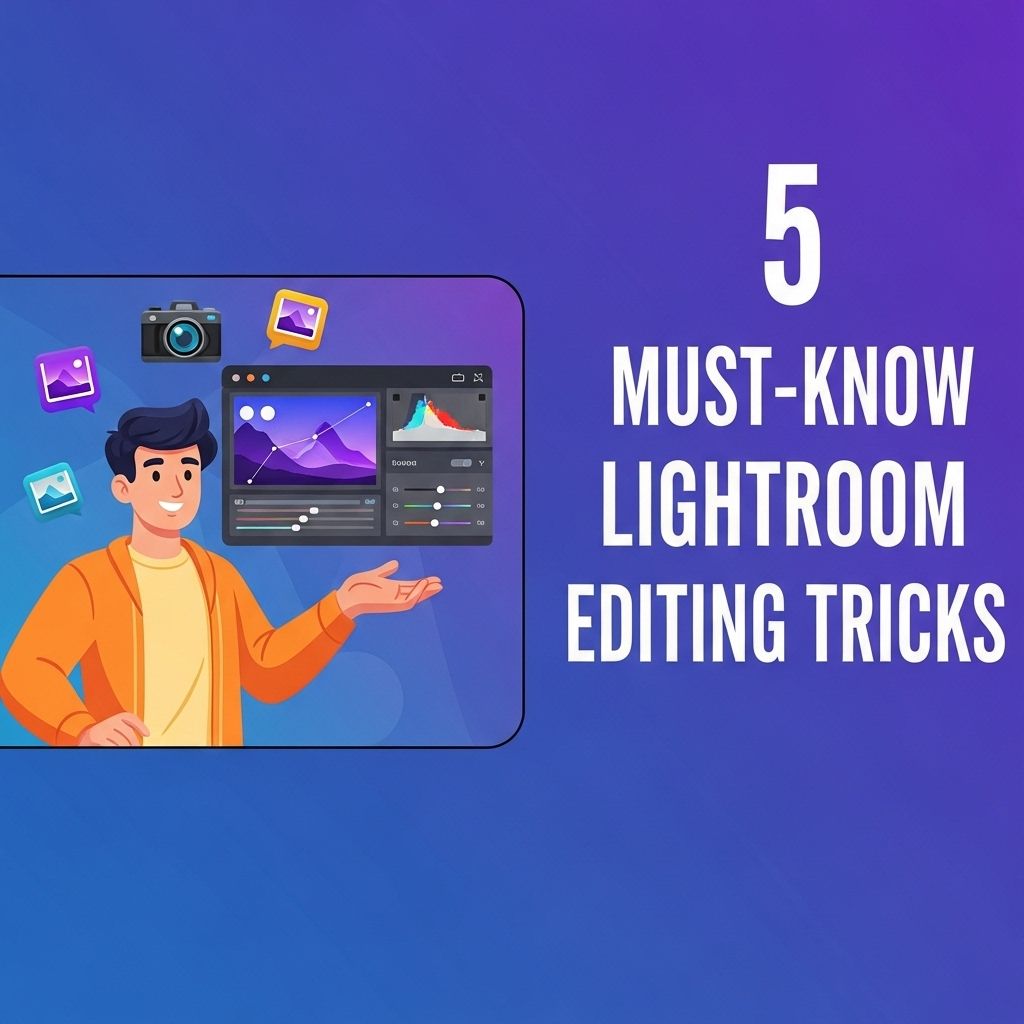
5 Must-Know Lightroom Editing Tricks for Stunning Photos
Discover 5 essential Lightroom editing tricks that will elevate your photography and enhance your images like a pro.
In the world of photography, Adobe Lightroom has become an indispensable tool for both amateur and professional photographers. With its robust set of features, it allows users to enhance their images and streamline their workflow. In this article, we will explore five essential Lightroom editing tricks that can elevate your photos to the next level, making them more vibrant and visually appealing.
Editing photos in Lightroom can transform your images from ordinary to stunning with just a few tricks. In this guide, we’ll explore five must-know editing techniques that will elevate your photography skills and bring out the best in your shots. Plus, for those interested in design, you can learn how to use logo mockups effectively to enhance your branding.
1. Mastering the Crop Tool
The crop tool is not just for trimming your photos; it’s a powerful feature for improving composition and focusing the viewer’s attention. Here’s how to effectively use the crop tool:
Using Aspect Ratios
- Select the crop tool by pressing R on your keyboard.
- Choose from preset aspect ratios like 4:5, 16:9, or create custom dimensions.
- Use the Grid Overlay feature to align your subject according to the rule of thirds.
Experimenting with different aspect ratios can drastically change the mood and impact of your photos. Remember, a well-composed image captures the viewer’s eye.
2. Utilizing Presets for Consistency
Presets save time and ensure a consistent editing style across your photography collection. Here are the steps to create and use your own presets:
Creating Your Own Preset
- Edit a photo to your liking using the various adjustments available (exposure, contrast, saturation, etc.).
- Once satisfied, go to the Develop module.
- On the left panel, find the Presets section and click the + icon to create a new preset.
- Name your preset and select which adjustments to include.
- Click Create to save it.
Now, you can apply this preset to other photos with a single click, ensuring a unified look across your portfolio.
3. Leveraging the Tone Curve
The Tone Curve is a powerful tool for fine-tuning the brightness and contrast of your images. It allows you to manipulate highlights, shadows, and midtones separately. Here’s how to use it effectively:
Understanding the Tone Curve
| Section | Function |
|---|---|
| Highlights | Brightens the lighter parts of the image. |
| Lights | Adjusts the brighter midtones. |
| Dark | Controls the darker midtones. |
| Shadows | Increases or decreases the shadow areas. |
To get started:
- Open the Tone Curve panel in the Develop module.
- Click and drag points on the curve to adjust the brightness and contrast.
- Use the RGB sliders to enhance individual color channels for creative effects.
By mastering the Tone Curve, you can achieve a level of control over your editing that enhances the overall quality of your images.
4. Local Adjustments with Adjustment Brushes
Sometimes, you may want to make specific adjustments to certain areas of a photo rather than applying changes globally. This is where adjustment brushes come in handy:
Using the Adjustment Brush
- Activate the Adjustment Brush (shortcut K).
- Choose the adjustment you want to apply (exposure, clarity, saturation, etc.).
- Paint over the areas you want to adjust. You can refine your brush size and feathering as needed.
- Use the Erase option to remove adjustments from specific areas.
This technique allows for targeted edits, ensuring that you can highlight important features of your image while keeping other areas untouched.
5. Enhanced Noise Reduction Techniques
Noise can often be a downside of shooting in low light conditions, but Lightroom provides several tools to effectively reduce it:
Applying Noise Reduction
- Navigate to the Detail panel in the Develop module.
- Adjust the Luminance slider to reduce graininess.
- Use the Color slider to eliminate chromatic aberration.
- For more control, use the Masking slider to limit noise reduction to the less detailed areas of your photo.
By applying these noise reduction techniques, you can enhance the clarity of your images without losing essential details.
Conclusion
Adobe Lightroom is a versatile tool that can significantly elevate your photography. By mastering these five editing tricks—from effective cropping and creating presets to using the Tone Curve and adjustment brushes—you’ll enhance your workflow and produce stunning photos that stand out. As you continue to explore Lightroom’s capabilities, remember that practice makes perfect, and the more you experiment, the more you’ll discover the potential of this powerful software.
FAQ
What are some essential Lightroom editing tricks for beginners?
Some essential Lightroom editing tricks for beginners include mastering the use of presets, utilizing the graduated filter, adjusting the tone curve for enhanced contrast, using the HSL panel for color adjustments, and leveraging the crop tool for better composition.
How can I enhance my images quickly in Lightroom?
You can enhance your images quickly in Lightroom by applying presets, using the ‘Auto’ tone feature for instant adjustments, and making batch edits to multiple photos simultaneously.
What is the tone curve in Lightroom and how do I use it?
The tone curve in Lightroom is a powerful tool that allows you to adjust the brightness and contrast of your images. You can use it by dragging points on the curve to lighten or darken specific tonal ranges, giving you more control over the overall look of your photo.
How do I effectively use the HSL panel in Lightroom?
The HSL panel in Lightroom allows you to adjust the Hue, Saturation, and Luminance of specific colors in your image. To use it effectively, select the colors you want to modify and make subtle adjustments to enhance the overall composition and mood.
What are the benefits of using Lightroom presets?
Lightroom presets save time by applying a specific set of edits with one click, providing a consistent look across your photos, and allowing you to experiment with different styles without starting from scratch for each image.