
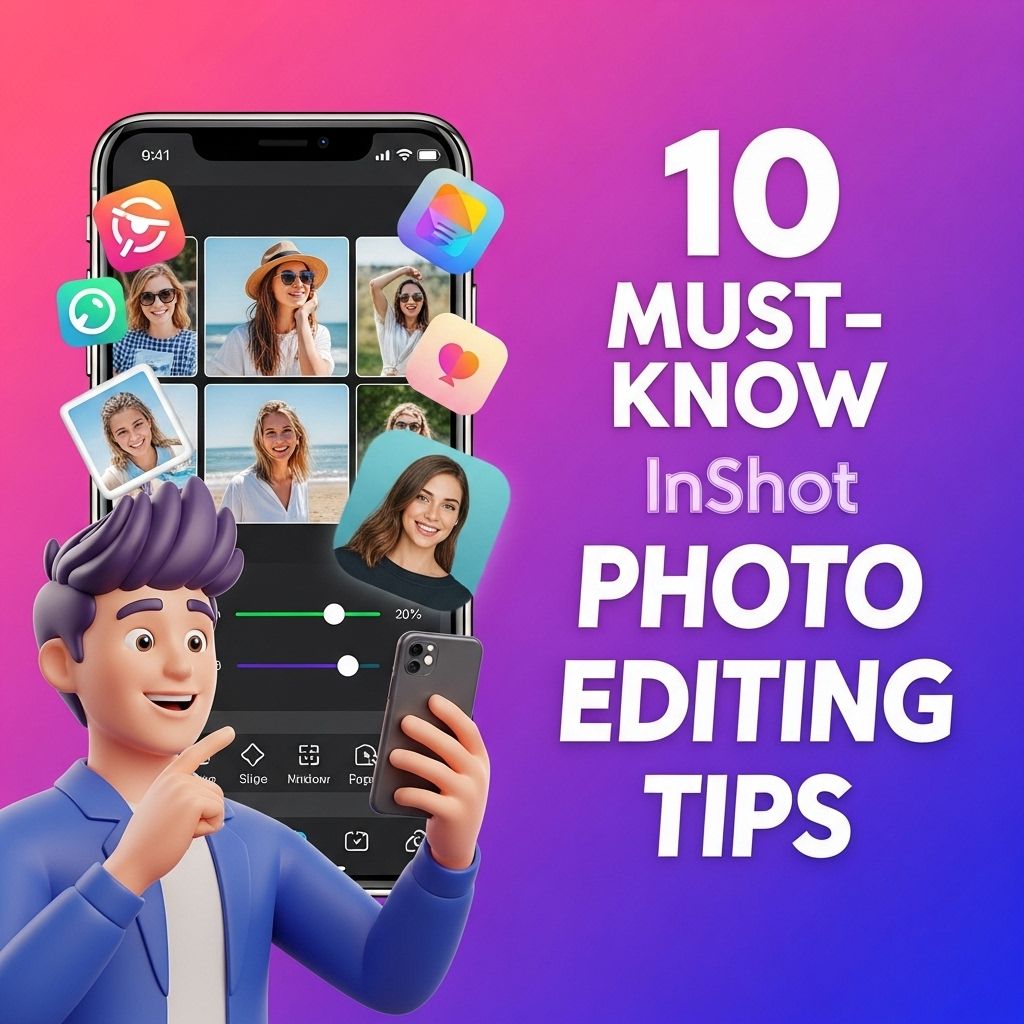
10 Essential InShot Photo Editing Tips You Need to Know
Discover 10 must-know tips to enhance your photo editing skills using InShot and create stunning visuals for your social media.
In the age of social media, captivating visuals have become a vital aspect of personal branding and online presence. With the rise of mobile photography, having a good understanding of photo editing apps is essential. One such powerful tool is InShot, known for its user-friendly interface and robust editing features. Whether you’re a seasoned photographer or a casual user looking to enhance your images, mastering InShot can significantly improve the quality of your photos. In this article, we’ll explore ten must-know tips for editing photos using InShot, enabling you to create stunning visuals that stand out.
In the world of photo editing, mastering tools like InShot can elevate your images in no time. Whether you’re a beginner or looking to refine your skills, these 10 essential tips will help you make the most of this powerful app. For those in need of fresh visuals, don’t forget to browse logo mockup templates for inspiration.
Understanding the Basics of InShot
Before diving into the advanced editing techniques, it’s crucial to familiarize yourself with the app’s interface. InShot provides a variety of editing options, including:
- Canvas Settings: Adjust the size and aspect ratio of your photo.
- Filters and Effects: Apply various filters and effects to enhance the mood of your images.
- Text and Stickers: Add personalized text and graphics to your photos.
- Adjustments: Fine-tune brightness, contrast, saturation, and more.
To navigate these features effectively, spend some time exploring the app and understanding the core tools available.
1. Utilize the Canvas Feature
The canvas feature allows you to adjust the size and proportion of your photo. This is particularly useful when preparing images for different social media platforms, which often have unique aspect ratio requirements. Here’s how to utilize it:
- Open the photo in InShot.
- Tap on ‘Canvas’ and choose your desired aspect ratio.
- Scale and position your photo within the selected canvas.
By selecting the right canvas, you can ensure that your images display correctly without cropping out essential elements.
2. Apply Filters to Set the Mood
Filters can drastically change the feel of a photo. InShot offers numerous preset filters that range from subtle enhancements to dramatic changes. Here’s how to apply them:
- Select the photo you want to edit.
- Navigate to the ‘Filter’ option.
- Browse through the available filters and tap to apply your favorite.
- Adjust the intensity of the filter for a customized look.
Remember, less is often more; subtlety in filter application can lead to a more professional appearance.
3. Mastering the Adjustments Tool
Fine-tuning your photo using the adjustments tool can take your editing to the next level. Key settings to focus on include:
| Adjustment | Description |
|---|---|
| Brightness | Controls the lightness of the image. |
| Contrast | Adjusts the difference between dark and light areas. |
| Saturation | Modifies the intensity of colors. |
| Sharpness | Enhances the details in the photo. |
Adjust these settings in moderation to avoid over-editing your photo.
4. Crop and Rotate for Better Composition
Composition is key in photography. InShot provides cropping and rotating tools to help you achieve a more balanced image. Here are a few tips:
- Rule of Thirds: Enable the grid feature to align your subject along the intersections of the grid.
- Eliminate Distractions: Crop out unnecessary elements that detract from the main subject.
- Rotation: Adjust the angle to give a fresh perspective on your photo.
Experimenting with cropping and rotation can lead to surprisingly effective results.
5. Add Text Creatively
Adding text can provide context or enhance the storytelling of your images. InShot allows you to overlay text with ease. Here’s how:
- Tap on ‘Text’ and type your desired message.
- Choose from various fonts and colors to match your aesthetic.
- Utilize shadow and border options for better readability.
Ensure the text complements the image without overwhelming it.
6. Utilize Stickers and Emojis
Stickers and emojis can add a fun element to your photos. InShot provides a variety of options to choose from:
- Select the ‘Sticker’ option.
- Browse through categories or search for specific stickers.
- Drag and position stickers appropriately on your photo.
Incorporating playful elements can make your images more engaging, especially for social media posts.
7. Experiment with Backgrounds
InShot allows you to change the background color or use patterns to add depth to your photos. Here’s how:
- Tap on ‘Background’ after selecting your image.
- Choose a solid color or a textured pattern.
- Adjust the background layer beneath your photo.
This can be particularly useful for portraits, allowing the subject to pop against a creative backdrop.
8. Save and Share in High Quality
After editing your masterpiece, it’s essential to save and share it in the highest quality possible. To do this:
- Tap on the ‘Save’ button.
- Select the resolution; it’s recommended to choose the highest available.
- Share directly to social media or save to your device.
Shooting for high-quality output ensures your work retains its integrity, especially when viewed on larger screens.
9. Regularly Update Your Skills
In the fast-paced world of technology, photo editing apps are frequently updated with new features. To stay ahead, consider:
- Following InShot’s official blog or social media for tutorials.
- Joining online photography communities for inspiration.
- Experimenting with new tools and updates as they become available.
Continually enhancing your skills will ensure you utilize the app’s full potential.
10. Practice Makes Perfect
Ultimately, the best way to become proficient with InShot is through practice. Set aside time to edit photos, trying different techniques and styles. Keep these tips in mind:
- Start with simple edits before moving to more complex adjustments.
- Seek feedback from peers or mentors on your edited images.
- Keep a portfolio of your favorite edits to track your progress over time.
With persistence and creativity, you will gradually see improvement in your photo editing skills.
Conclusion
InShot is a versatile app that empowers users to create stunning visuals with relative ease. By leveraging these ten editing tips, anyone can improve their photo editing skills and produce eye-catching images tailored for social media or personal projects. Remember, the world of photography is about expressing your unique vision, so don’t hesitate to experiment and make it your own!
FAQ
What are the essential features of InShot for photo editing?
InShot offers a variety of essential features for photo editing, including filters, effects, text overlays, stickers, and collage making tools.
How can I enhance my photos using InShot filters?
InShot provides a wide range of filters that can dramatically change the mood and style of your photos. Simply select a filter and adjust its intensity to suit your preference.
Can I add text to my photos in InShot?
Yes, you can easily add text to your photos in InShot. Choose from various fonts, colors, and styles to personalize your images.
What is the best way to use InShot for creating collages?
To create collages in InShot, select the collage feature, choose your preferred layout, and then add your photos. You can adjust each photo’s size and position for perfect results.
How do I save and share my edited photos in InShot?
After editing, simply tap the save button to store your photos on your device. You can also share directly to social media platforms from within the app.
Are there any tips for improving photo quality in InShot?
To improve photo quality in InShot, ensure you start with high-resolution images, use the sharpen tool cautiously, and avoid applying excessive filters that may degrade quality.