Capture Stunning Etsy Photos: Tips and Tricks
Learn how to take stunning photos for your Etsy shop with essential tips and tricks for perfect lighting, angles, and presentation.
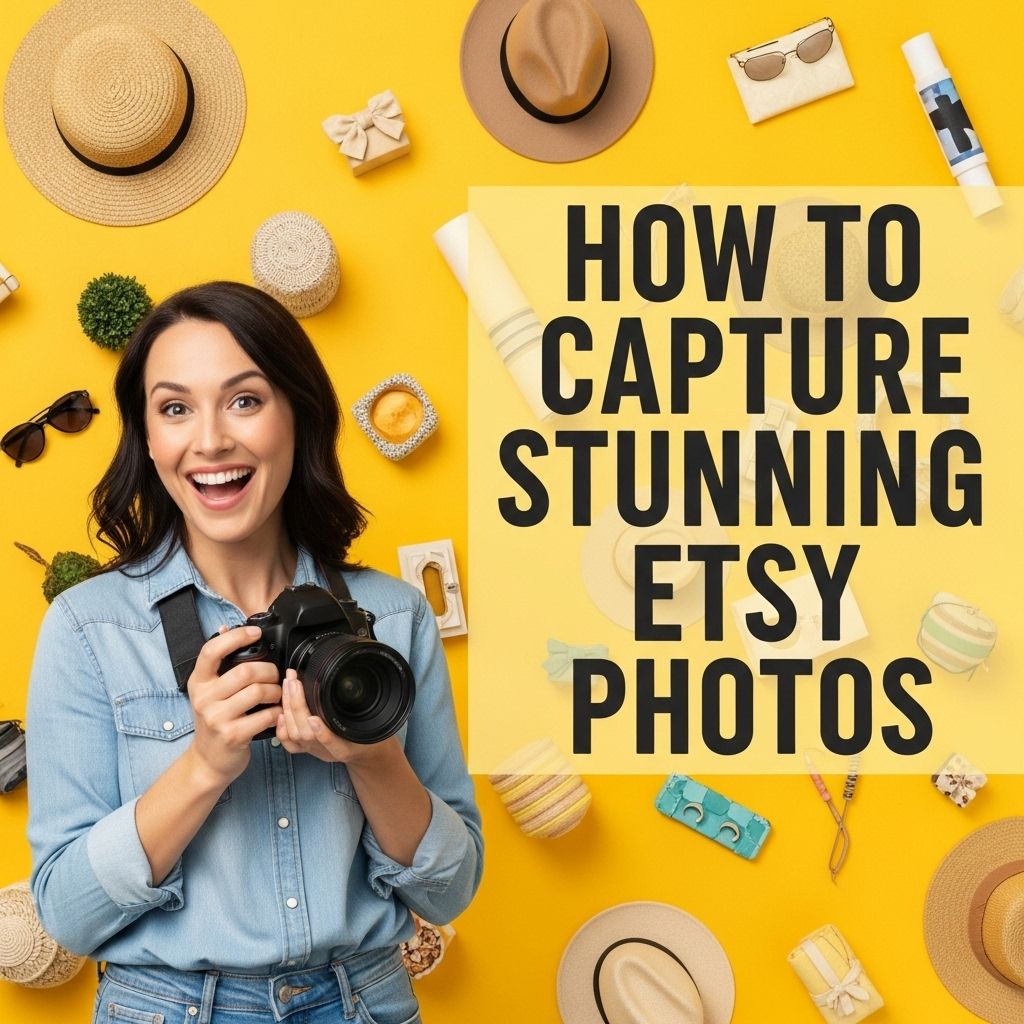
In the world of online marketplaces, first impressions are everything. For Etsy sellers, captivating product photography can make the difference between a sale and a missed opportunity. High-quality images not only showcase your products but also reflect the brand’s professionalism and creativity. Here’s an in-depth guide on how to capture stunning Etsy photos that will entice buyers and elevate your shop.
Capturing stunning photos for your Etsy listings is crucial for standing out in a crowded marketplace. Effective lighting, simple backgrounds, and creative angles can elevate your product images and attract potential buyers. For inspiring visuals, view the latest logo mockup designs.
Understanding the Basics of Product Photography
Before diving into the technical aspects, it’s essential to grasp the fundamental principles of product photography. Here are some key elements to consider:
- Lighting: Natural light is often the best choice for product photography. Aim to shoot your products near a window during the day to take advantage of soft, diffused light.
- Background: A clean, uncluttered background helps your products stand out. Consider using a solid color or a simple texture.
- Angles: Different angles can show various features of your product. Experiment with multiple viewpoints to find the most flattering ones.
Choosing the Right Equipment
Your choice of equipment can greatly impact the quality of your photos. Here’s what you need:
Camera Options
You don’t need a professional camera to take stunning photos. Here are a few options:
- DSLR or Mirrorless Camera: Offers high-quality images with interchangeable lenses.
- Smartphone: Modern smartphones have excellent cameras capable of producing great images with the right techniques.
- Point-and-Shoot Cameras: Compact and user-friendly, good for beginners.
Additional Gear
Beyond the camera, consider investing in:
- Tripod: Stabilizes your camera to prevent blurriness.
- Reflectors: Helps to bounce light onto your product.
- Lightbox: Provides controlled lighting and a clean backdrop.
Setting Up Your Shoot
Once you have your equipment ready, it’s time to set up your shoot. Here’s a step-by-step approach:
1. Pick a Location
Choose a spot with plenty of natural light. Avoid harsh direct sunlight, which can create unflattering shadows.
2. Prepare Your Background
Use a seamless white paper, fabric, or a wooden surface to complement your product. Make sure it’s clean and free from distractions.
3. Position Your Product
Place your product in the center of the frame. If it has multiple features, angle it to highlight those aspects. Use props to create context, but don’t overcrowd the image.
Mastering Lighting Techniques
Lighting can be the deciding factor in the quality of your photos. Here are some techniques to consider:
Soft Lighting
To achieve soft lighting, use sheer curtains to diffuse direct sunlight. This helps reduce harsh shadows.
Golden Hour
The hour after sunrise and before sunset provides warm, flattering light. Schedule your shoots during this time for stunning results.
Artificial Lighting
When natural light isn’t an option, use softbox lights or continuous lighting setups. Position them at 45-degree angles to minimize shadows.
Editing Your Photos
Post-processing can elevate your images further. Here are some editing techniques:
1. Cropping
Crop your images to remove any distractions and focus on the product.
2. Adjusting Exposure
Fine-tune the brightness and contrast to make your product pop.
3. Color Correction
Ensure the colors in your photos accurately represent the product.
Creating Compelling Listings
Once you have stunning photos, it’s time to create compelling Etsy listings. Keep the following in mind:
1. Image Order
Lead with the best photo, followed by various angles and close-ups. Consider including lifestyle images that show the product in use.
2. Descriptive Titles
Use descriptive, keyword-rich titles that help customers find your listings.
3. Detailed Descriptions
Complement your images with detailed descriptions, including dimensions, materials, and care instructions.
Examples of Effective Etsy Photography
To further inspire your approach, let’s look at a few examples of effective Etsy photography that illustrate various techniques:
| Shop Name | Photography Style | Notable Elements |
|---|---|---|
| ModernCrafts | Minimalist | Clean lines, neutral backdrop, soft lighting |
| HandmadeTreasures | Lifestyle | Products in use, vibrant colors, natural settings |
| VintageFinds | Artistic | Creative props, dramatic angles, warm tones |
Conclusion
Capturing stunning photos for your Etsy shop doesn’t have to be an overwhelming task. By understanding the fundamentals, choosing the right equipment, mastering lighting techniques, and applying thoughtful editing, you can create images that enhance your listings and attract buyers. Remember, practice makes perfect, so keep experimenting with different styles and techniques until you find what works best for you and your products.
FAQ
What are the best tips for taking stunning Etsy photos?
Use natural lighting, choose a clean background, and style your products attractively to enhance their appeal.
How can I improve the lighting for my Etsy product photos?
Utilize natural light by shooting near windows or use softbox lights for a well-lit setup that minimizes harsh shadows.
What camera settings should I use for Etsy photos?
Use a low ISO for less noise, a wide aperture for a shallow depth of field, and a tripod to ensure stability.
Should I edit my Etsy photos after taking them?
Yes, editing can enhance colors, adjust brightness, and improve overall quality, making your photos more appealing to potential buyers.
What background is best for Etsy product photography?
A neutral or contrasting background works best to draw attention to your product; consider using solid colors or textured surfaces.
How important are props in Etsy photography?
Props can enhance storytelling and context for your product, but they should not overshadow the main item; use them sparingly.