Beginner’s Guide to Setting Up Your First Camera
Learn how to set up your first camera with easy steps and tips for beginners to capture stunning photos.
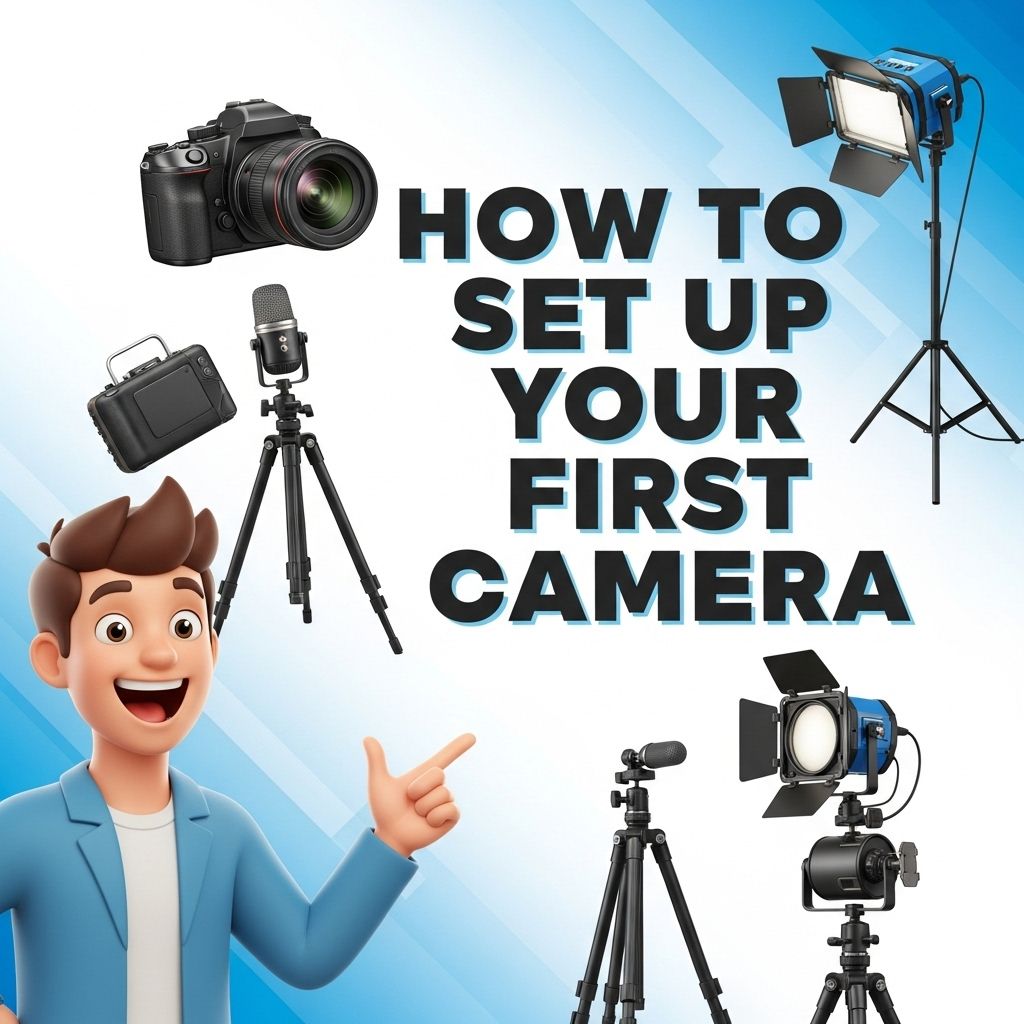
Setting up your first camera can be an exhilarating experience, whether you’re venturing into photography as a hobby or considering a professional path. Understanding the basics of camera settings, types, and accessories can make a significant difference in the quality of your shots. This guide will help you navigate through the essentials of camera setup so you can capture stunning images right from the start.
Setting up your first camera can feel overwhelming, but with a few simple steps, you can get started on your photography journey. Understanding your camera’s basic settings and features is essential for capturing stunning images. For example, consider exploring resources for visual inspiration, like download stunning logo mockups, to see how effective branding can elevate your photography work.
Understanding Your Camera
Before diving into the setup process, it is crucial to familiarize yourself with the different types of cameras available. From DSLRs and mirrorless cameras to point-and-shoots, each type has its unique features.
Types of Cameras
- DSLR (Digital Single-Lens Reflex): Offers excellent image quality and versatility; ideal for beginners and professionals.
- Mirrorless Cameras: Compact and lightweight, providing similar image quality to DSLRs without the bulk.
- Point-and-Shoot: User-friendly cameras that are great for casual photography; often with fewer manual controls.
- Smartphone Cameras: Widely accessible, with advanced technology that allows for impressive photography.
Selecting the Right Lens
The lens you choose greatly influences your photography. Different lenses serve various purposes, and understanding their characteristics is essential.
Types of Lenses
| Lens Type | Use | Example |
|---|---|---|
| Standard Lens | Versatile for everyday photography | 24-70mm f/2.8 |
| Wide-Angle Lens | Perfect for landscapes and architecture | 16-35mm |
| Telephoto Lens | Great for wildlife and sports photography | 70-200mm |
| Macro Lens | For extreme close-up photography | 100mm f/2.8 |
Camera Setup Steps
Now that you have a good understanding of your camera and lenses, let’s move ahead with the setup process. Here are the steps to consider:
Step 1: Charge Your Battery
Your camera won’t do much without a charged battery, so ensure it’s fully charged before you start.
Step 2: Insert Memory Card
Choose a high-capacity memory card suitable for your camera. Insert it according to the camera’s manual instructions.
Step 3: Attach the Lens
Align the lens with the camera body, ensuring the markers match up, and twist to lock it into place.
Step 4: Set the Date and Time
This is essential for organizing and timestamping your photos. Access the settings menu to adjust the date and time.
Step 5: Adjust Camera Settings
Familiarize yourself with the settings:
- ISO: Adjusts sensitivity to light; start with ISO 100.
- Aperture: Controls the depth of field; a lower f-number creates a blurry background.
- Shutter Speed: Dictates how long the sensor is exposed to light; faster speeds freeze motion.
Camera Modes Explained
Your camera likely has several shooting modes to choose from. Understanding these modes will help you make the best choice for your shooting conditions.
Common Camera Modes
- Auto Mode: The camera makes all the decisions for you.
- Aperture Priority: You set the aperture while the camera manages shutter speed.
- Shutter Priority: You choose shutter speed, and the camera adjusts the aperture.
- Manual Mode: Complete control over both aperture and shutter speed.
Taking Your First Photos
Once your camera is set up, you’re ready to start taking photos. Here are some tips to keep in mind:
Framing Your Shots
Consider the rule of thirds: imagine your frame divided into nine equal parts and place your subject along these lines for a balanced composition.
Focusing
Use autofocus for quick shots, but don’t hesitate to switch to manual focus for more precision, especially in tricky lighting conditions.
Post-Processing Your Images
Once you’ve captured your photos, consider post-processing to enhance their quality. Software like Adobe Lightroom or Photoshop can help you adjust colors, contrast, and cropping.
Basic Post-Processing Steps
- Import your images into editing software.
- Adjust exposure and contrast.
- Enhance colors and sharpness.
- Crop and straighten images as needed.
- Export your final image in the desired format.
Maintaining Your Camera
Maintaining your camera is vital for long-term performance. Here are some tips:
- Regularly clean the lens and camera body with a soft cloth.
- Store your camera in a protective case to prevent damage.
- Keep your software and firmware up to date.
Conclusion
Setting up your first camera is an exciting journey into the world of photography. By understanding your equipment, practicing different settings, and exploring post-processing techniques, you can elevate your photography skills. Remember, the key is practice and experimentation, so don’t hesitate to explore various styles and subjects. Happy shooting!
FAQ
What equipment do I need to set up my first camera?
To set up your first camera, you’ll need the camera body, a compatible lens, a tripod for stability, memory cards for storage, and a fully charged battery.
How do I adjust the settings on my camera?
To adjust the settings, refer to your camera’s manual. Typically, you can change settings like ISO, shutter speed, and aperture through the camera’s menu or dedicated dials.
What is the best way to learn how to use my camera?
The best way to learn is by practicing regularly. Consider taking a photography class, watching online tutorials, or joining photography forums to share tips and experiences.
How do I choose the right lens for my camera?
Choosing the right lens depends on the type of photography you want to pursue. For landscapes, a wide-angle lens is ideal, while portraits benefit from a prime lens with a wide aperture.
What tips do you have for beginners in photography?
Start by understanding the exposure triangle (ISO, shutter speed, aperture), practice composition techniques like the rule of thirds, and don’t hesitate to experiment with different settings.